
BlogDesign process
Why your home doesn’t look like the 3D render, and how to close the gap
Key points
- A render shows a mood. A home is built from drawings, materials and site conditions.
- Light, lens and missing services are the usual differences.
- Ask for technical drawings and physical samples, not more renders.
- Walk the site before the carpentry is fabricated.
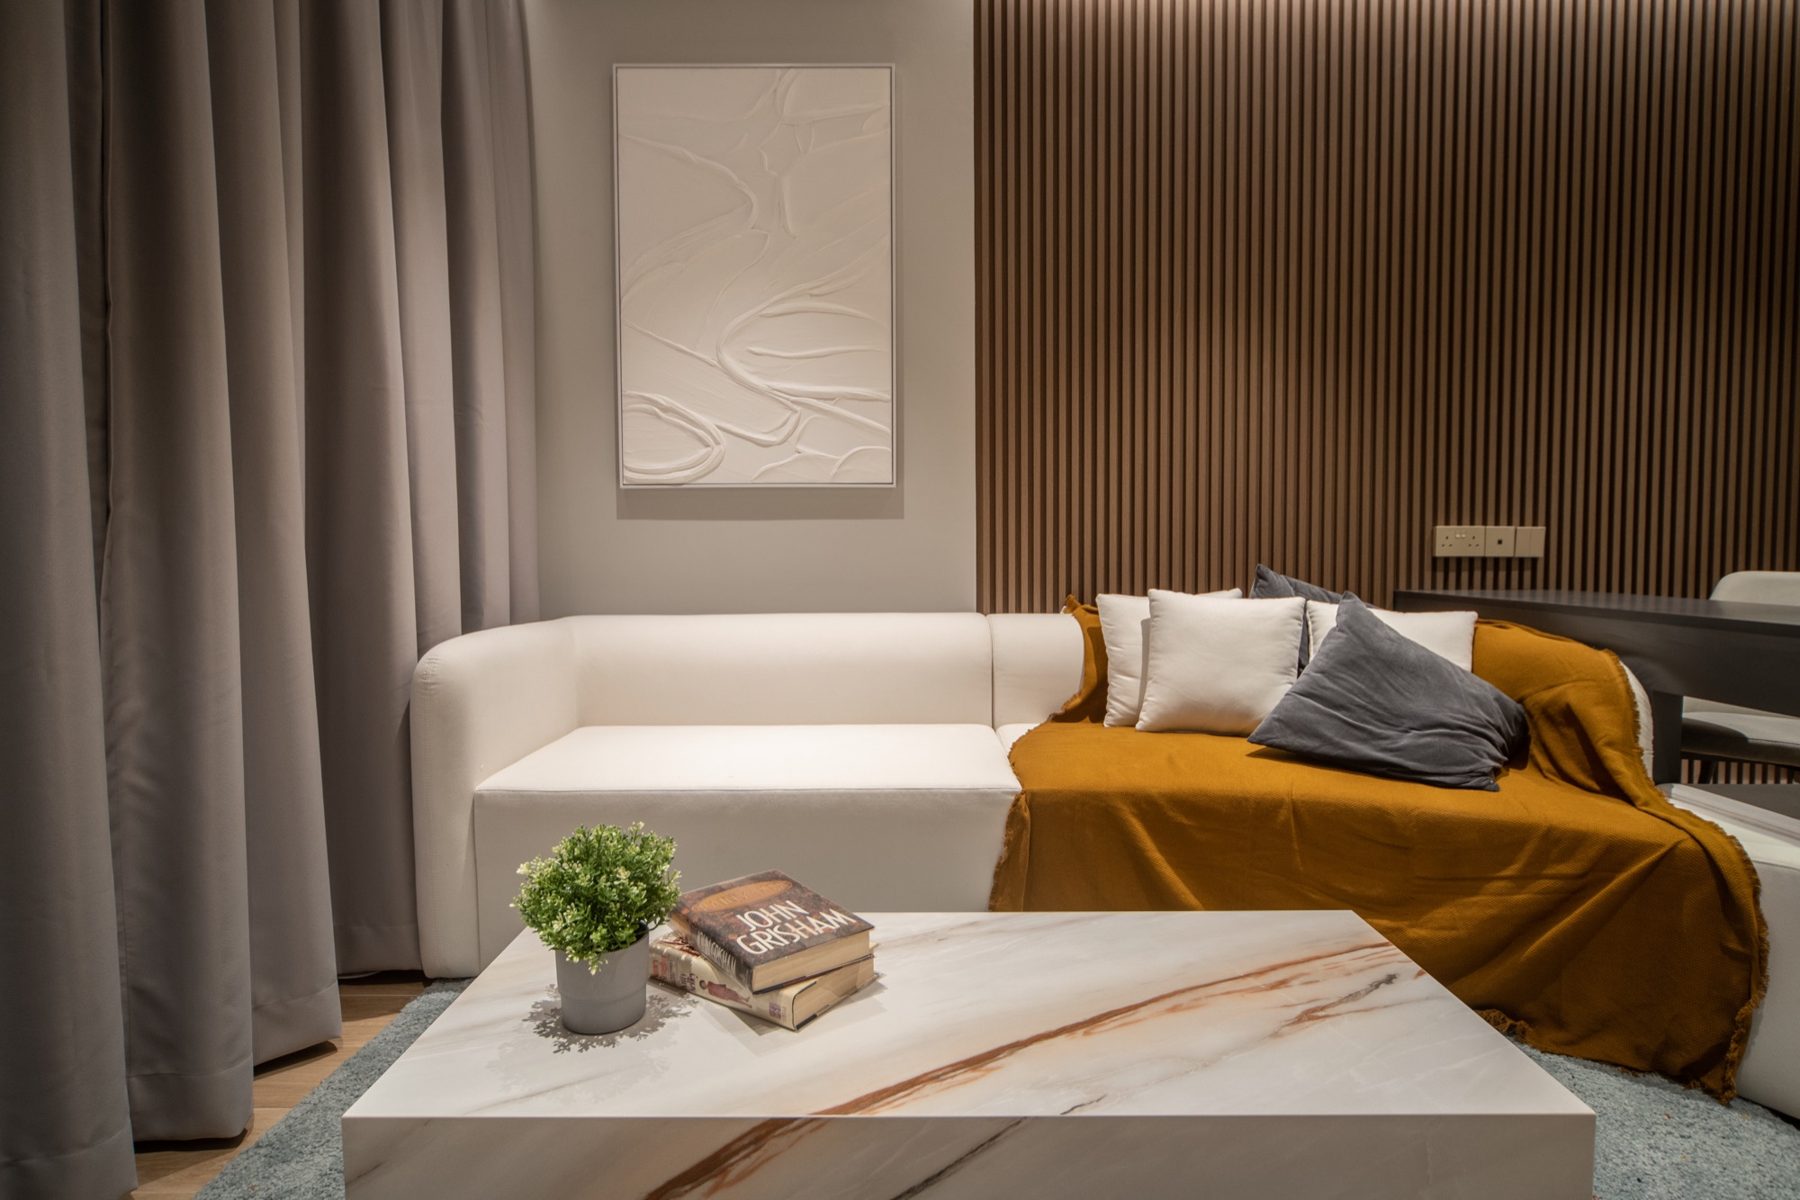
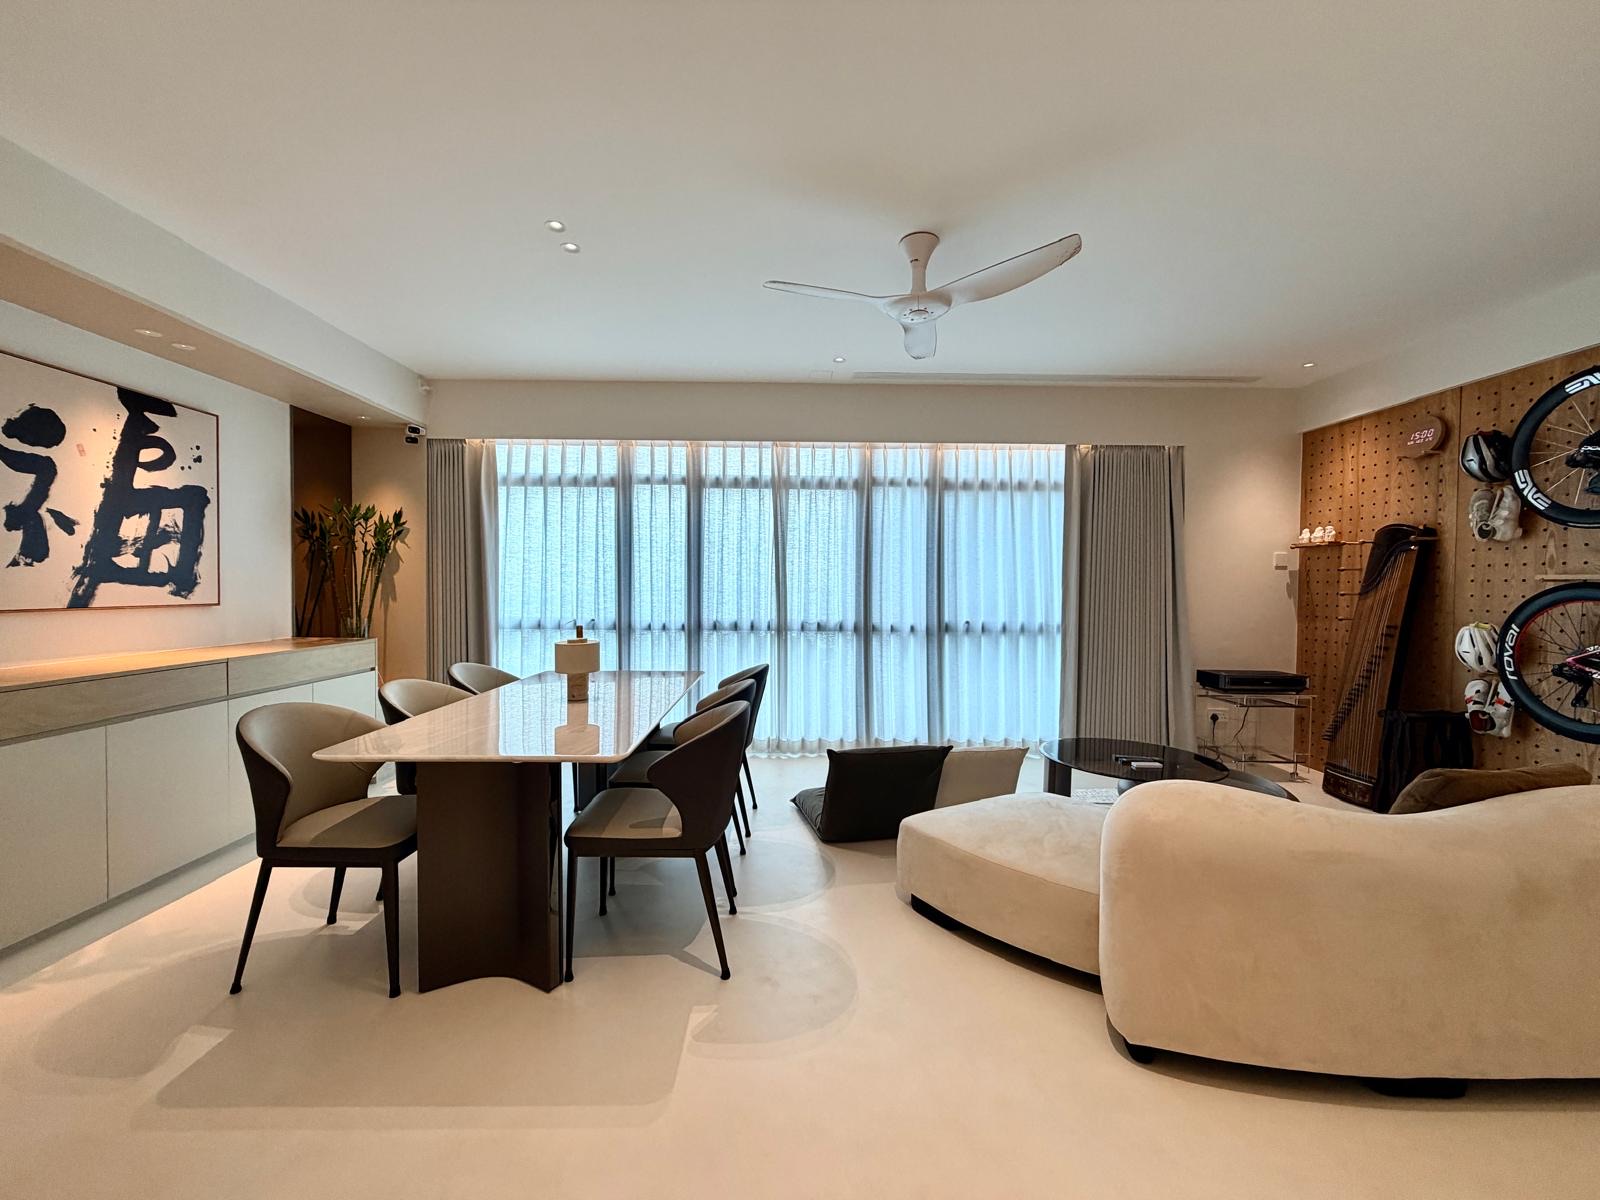
A 3D render is a useful tool. It lets you see a room before it exists. But it is a picture, not a promise. When SquareRooms profiled my firm in 2025, they titled the piece “Beyond the Render”, and that is how I think about design. The image is where the conversation starts. The home is what you actually receive.
Why renders and reality differ
- Light. A render is lit perfectly. Your flat has windows facing one direction, and the light changes through the day. Warm and cool bulbs also shift the colour of every laminate and paint.
- Lens. Renders are usually drawn with a wide-angle view, which makes a room look larger than it will feel.
- Materials. A texture on a screen is not a laminate, a stone or a paint. Grain, sheen and joint lines only show on the real thing.
- Services. Switches, sockets, air-con trunking, pipes, access panels and the distribution board are often left out of the picture. They will not be left out of your home.
- The site itself. Walls are rarely perfectly straight. Beams, columns and floor levels all affect what can be built.
How to close the gap
- Ask for drawings as well as renders. Dimensioned plans and elevations are what the home is built from. If you only have images, you have agreed on a look, not on a build.
- See samples in your own light. Take the laminate, tile and paint samples to the flat. Look at them in the day and again at night.
- Ask where the services go. Have every switch, socket, air-con run and access panel marked on the drawings.
- Agree on what is included. Loose furniture, lights and styling shown in a render are often not in the price. Check them against the quotation, line by line.
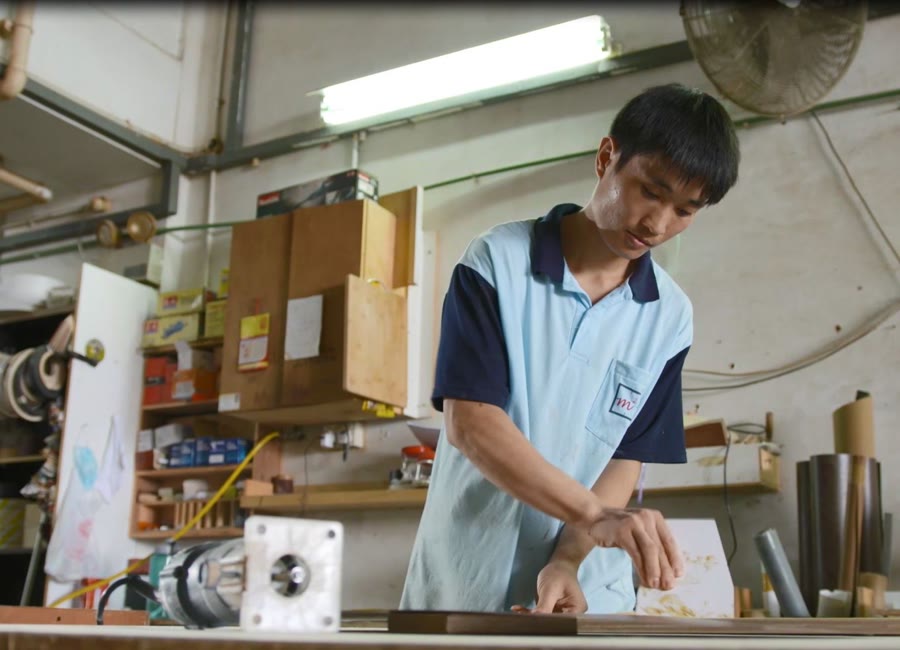
- Walk the site before the carpentry is made. Final measurements belong after the tiling and flooring. I have set out what to check on carpentry drawings separately.
Curves show the gap fastest
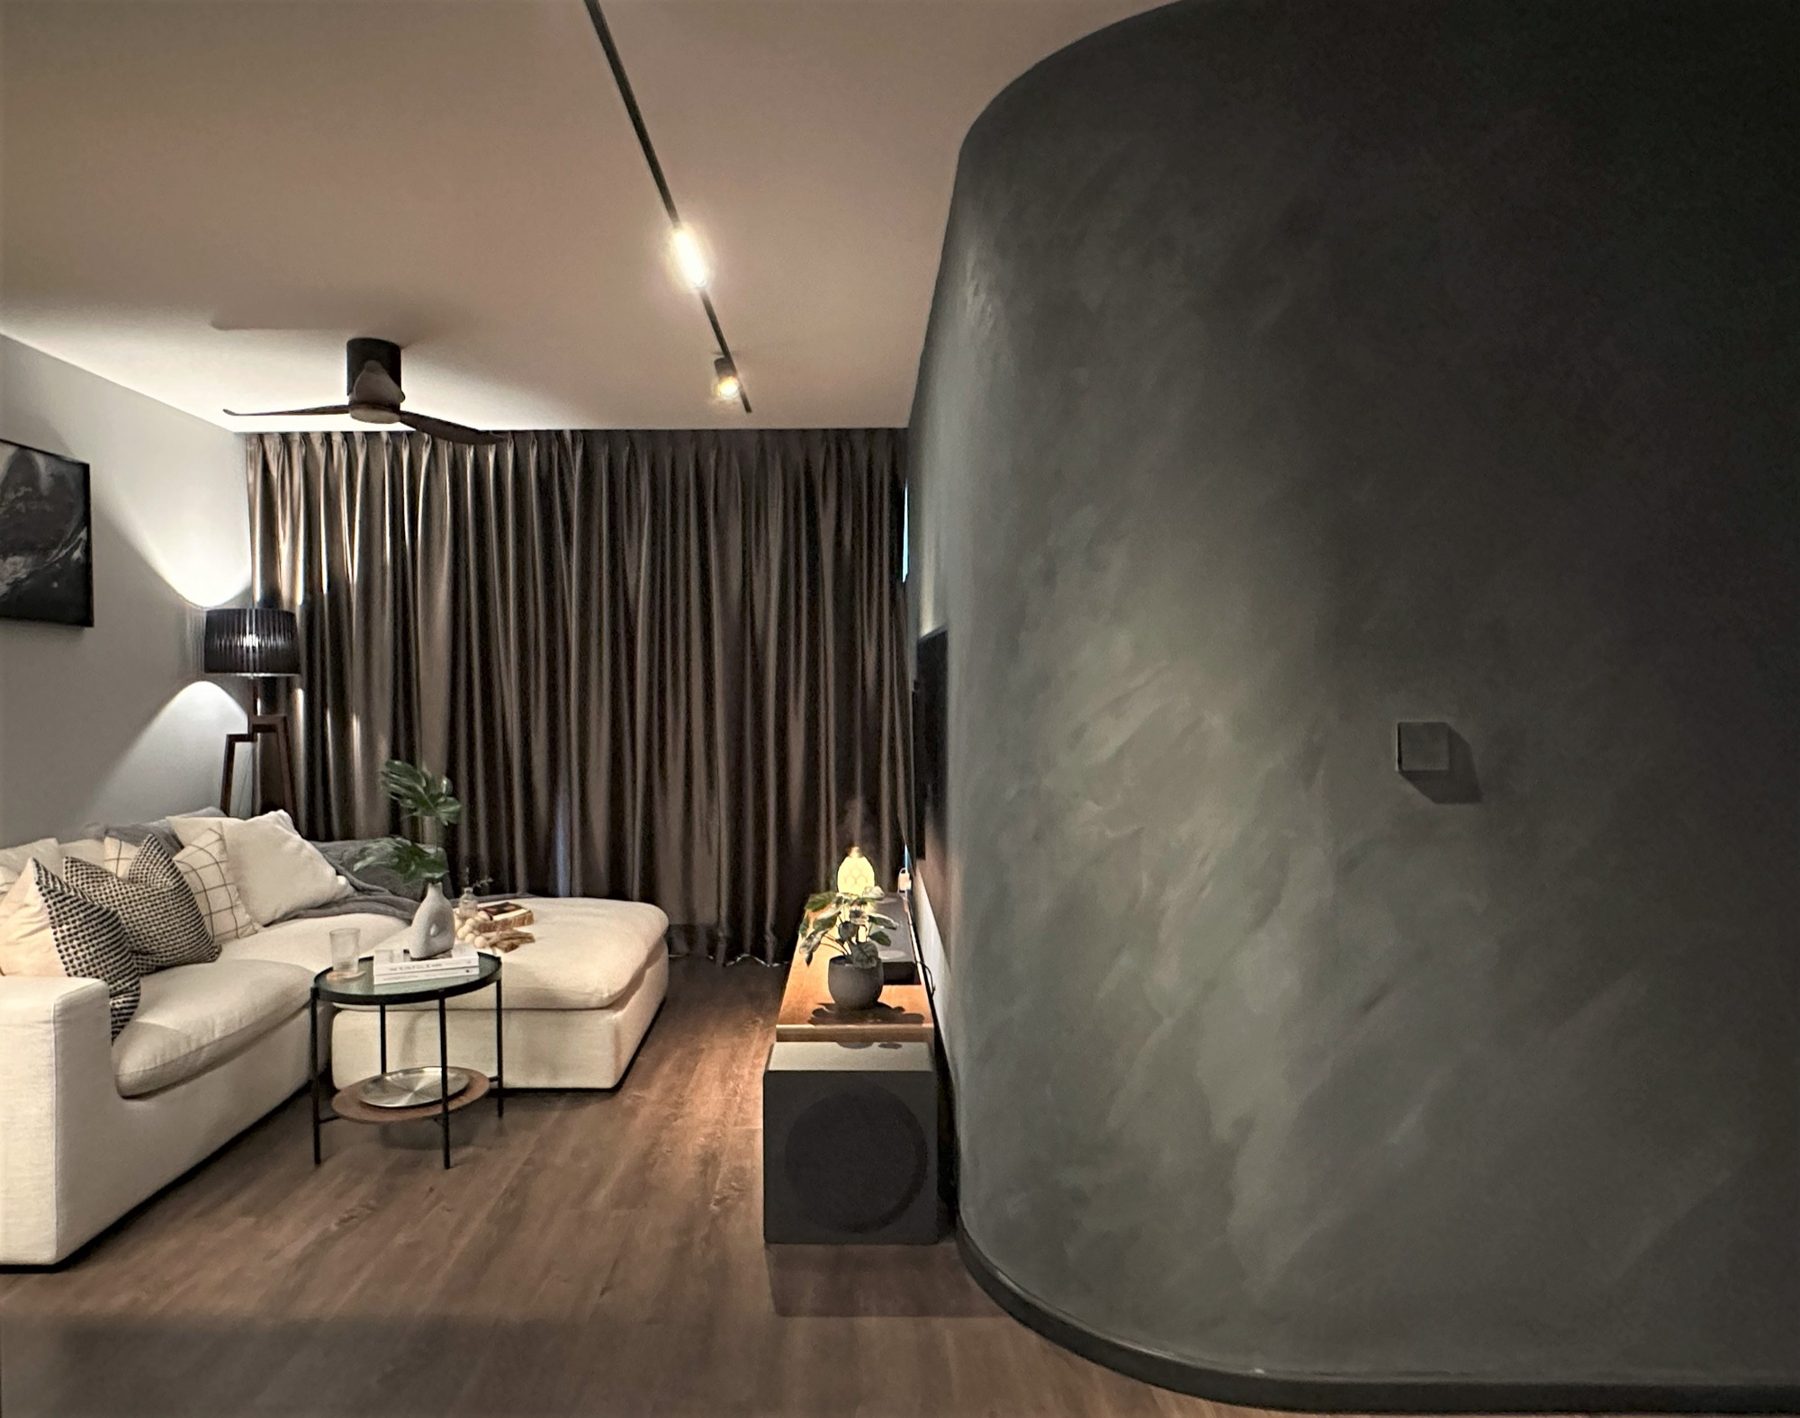
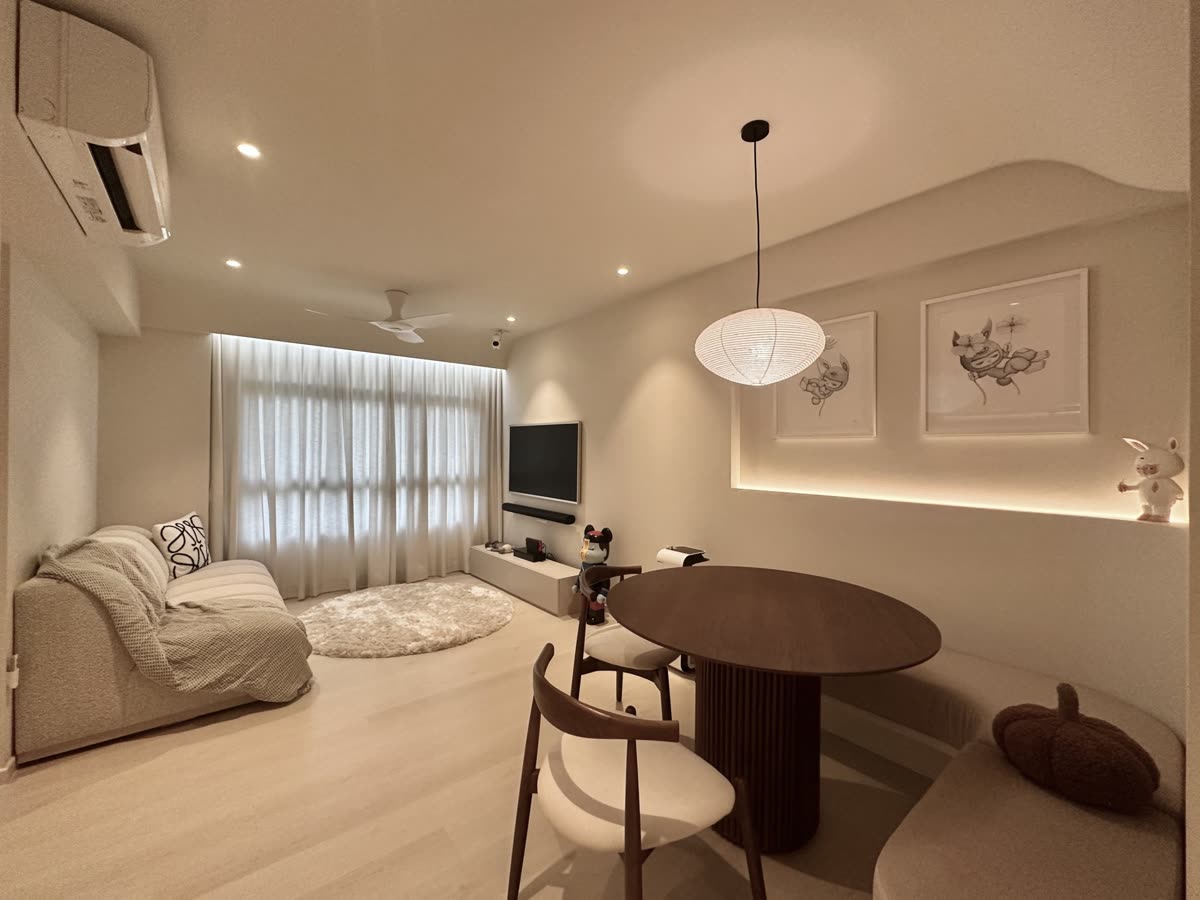
A curve takes seconds to draw and days to build. In a BTO flat I designed, featured in SquareRooms, the owners wanted soft curves and stone, inspired by a store they loved. The curved cabinetry above the kitchen sink had to hide the pipes neatly, with only 5 to 10 mm of allowance. Miss that, and the piece would have needed major rework.
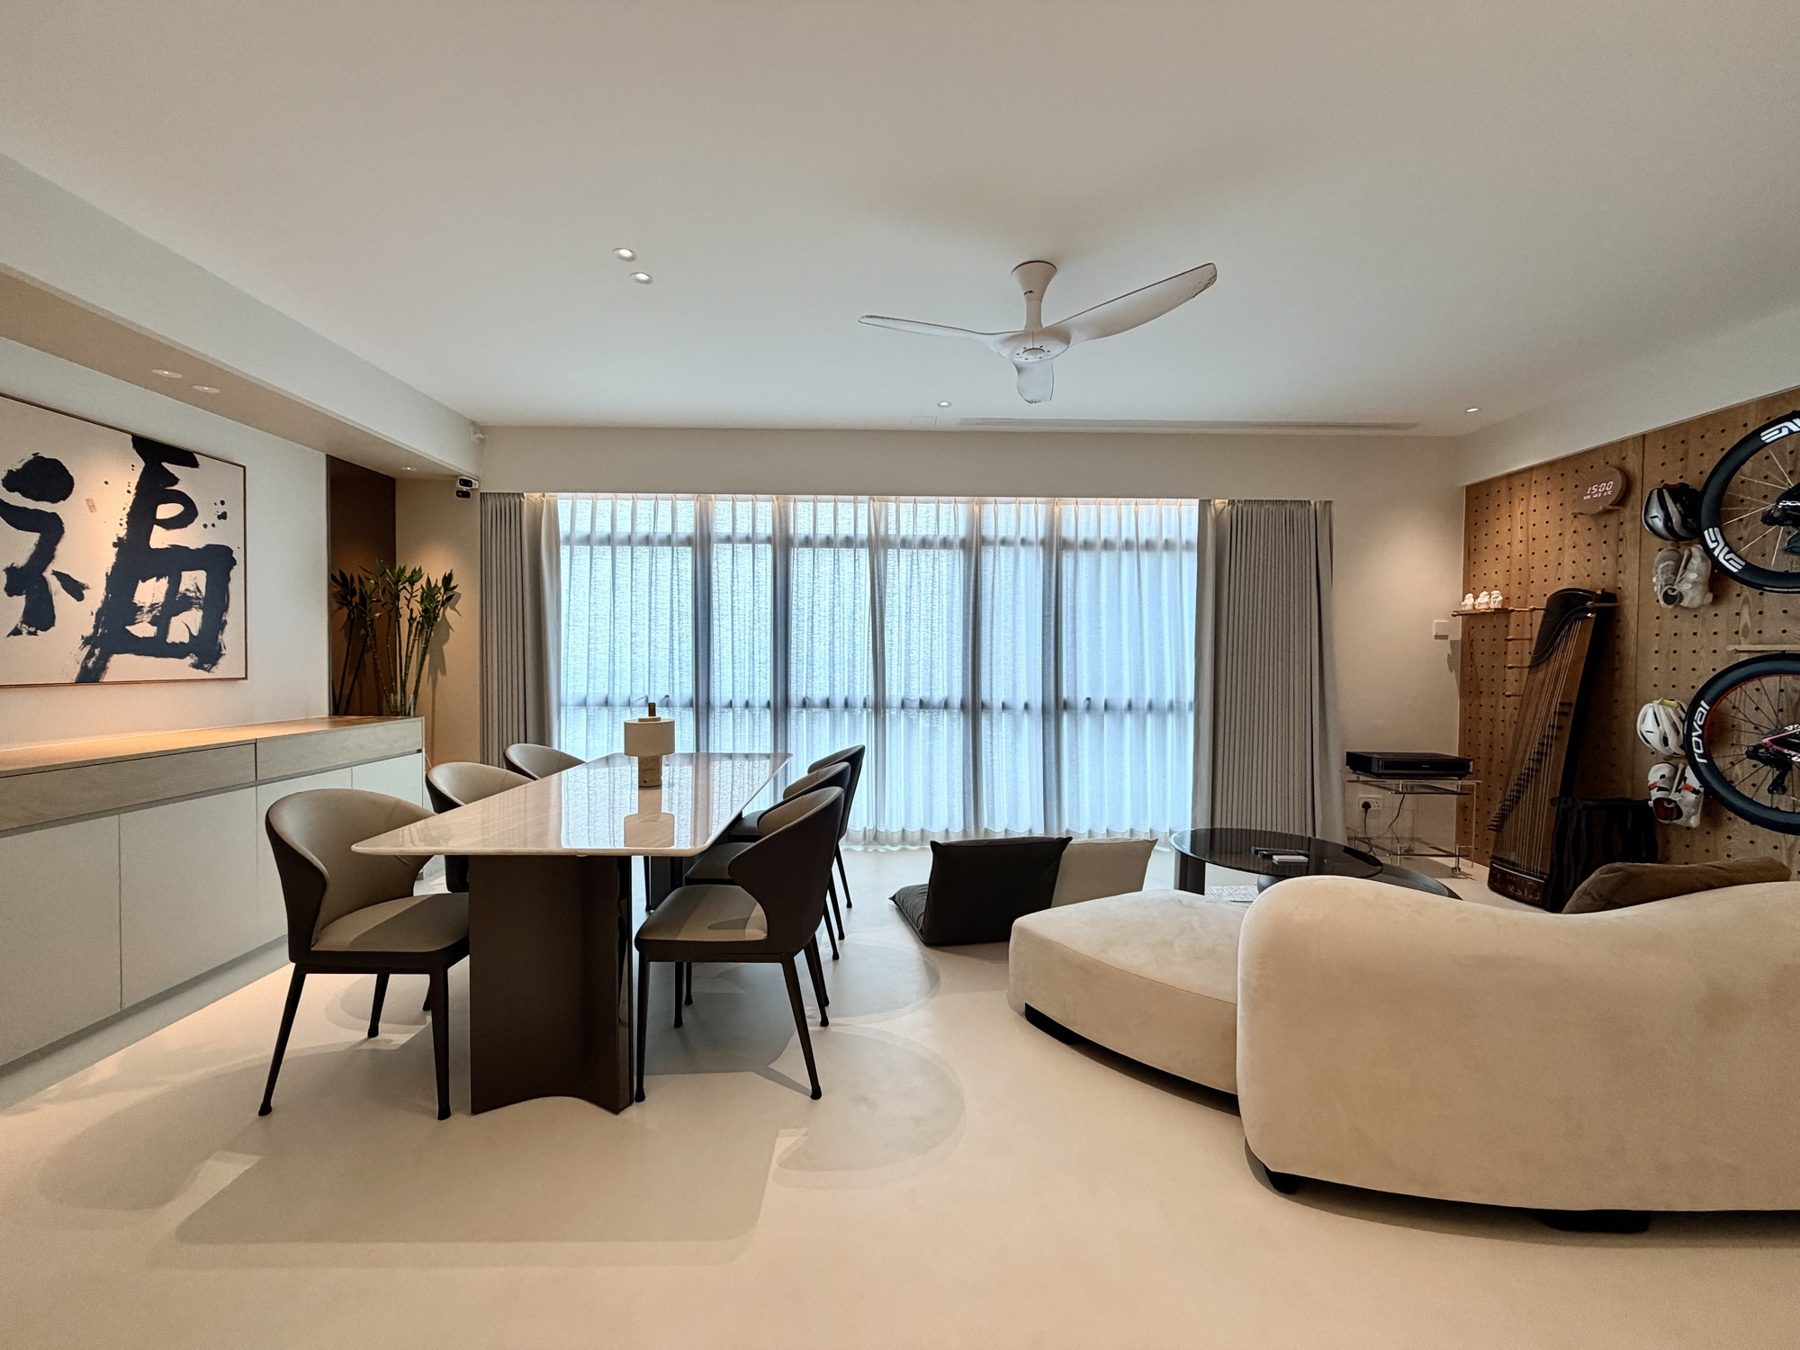
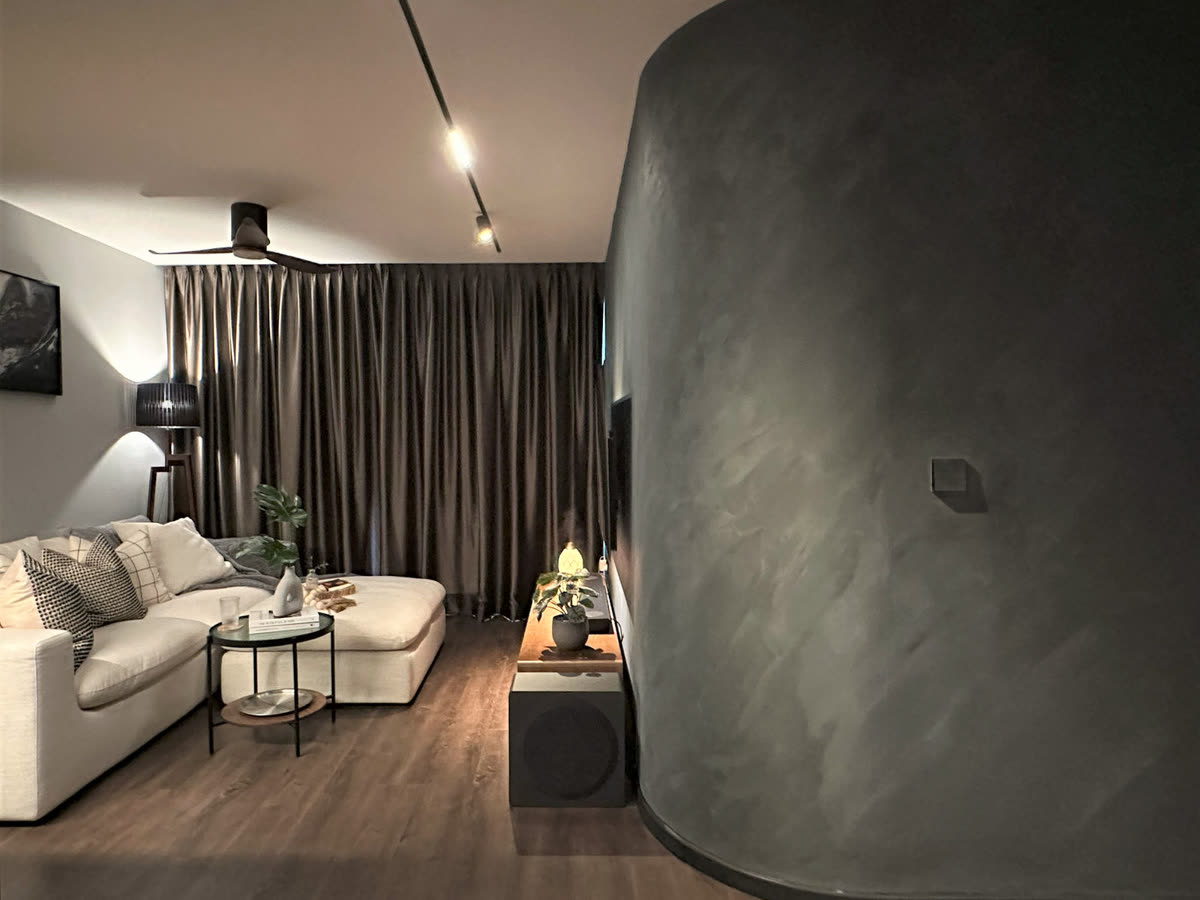
Embracing Serenity has the same lesson in it. Its curved walls sit against mid-toned wood, plants and art, so the home feels lived in and not like a showroom. On screen, that is one click. On site, it depends on a carpenter who knows how the curve will be framed, clad and finished. The story of that home has more photos.
Use the render to agree on a direction. Use drawings, samples and site checks to agree on the home.
Small homes need extra care
The wide-angle effect is strongest in small rooms. If you are planning a compact flat, read the dimensions, not the picture. My notes on 2-room flexi renovations cover what is worth paying for when every square foot counts.
What I tell clients
The best renovation I can give someone is one where they understood every decision, even the ones they did not make with me. A render helps you decide how the home should feel. It can’t tell you how the home will be built. Ask for both, and you will not be surprised at handover.